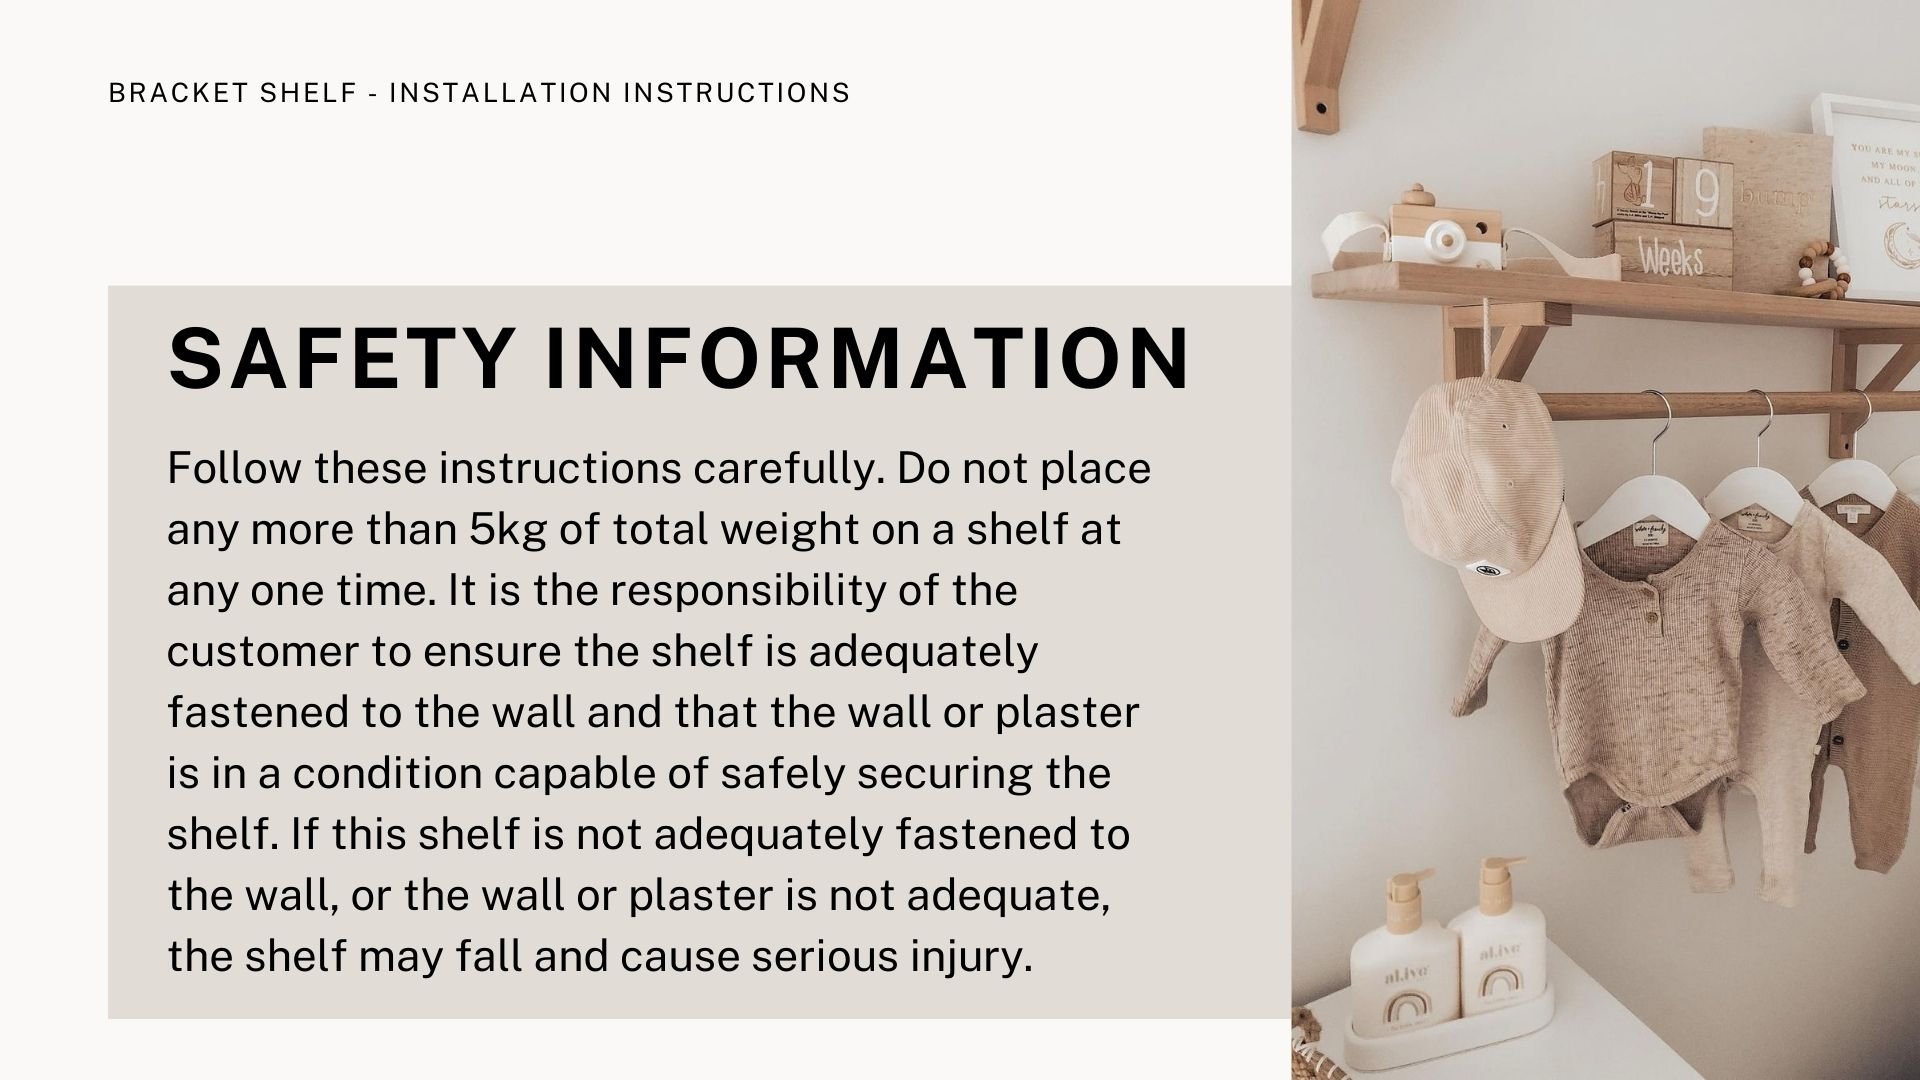
Installing our Bracket Shelves
With a few simple steps, transform your home into an interior design masterpiece. We'll show you how to install our Bracket Shelves and create the perfect spot for displaying books or decor!
Buying something that requires installation or putting together can sometimes be scary or seem too hard. Finding and affording tradespeople isn’t always possible. So can you DIY? YES YOU CAN!!!
Over the next few months we will be releasing a series of DIY articles to show you how easy it is! Most of our shelving range can be installed with very little experience or tools required. So go ahead and read up on how to install our most popular shelves, the Bracket Shelves.
Click here to view PDF installation instructions for all our product range.
Firstly you will need to check you have all the pieces (a list is included in the box) and the following tools will come in handy.
Tape measure
Phillips head screwdriver
Pencil
Spirit Level
Stud Finder
Electric Drill and 3mm drill bit
Secondly, position your shelf on the wall to get an idea of where it will go. Make sure you have a good idea of where your studs in the wall are, or where there may be electrical wires…a good idea to avoid wires!
Just a note with studs in the wall, this shelf is designed to be mounted straight into the gyprock/plaster wall so you don’t need to go into the studs. If you want to go into the studs for extra stability, read on at the bottom of the article for some extra info.
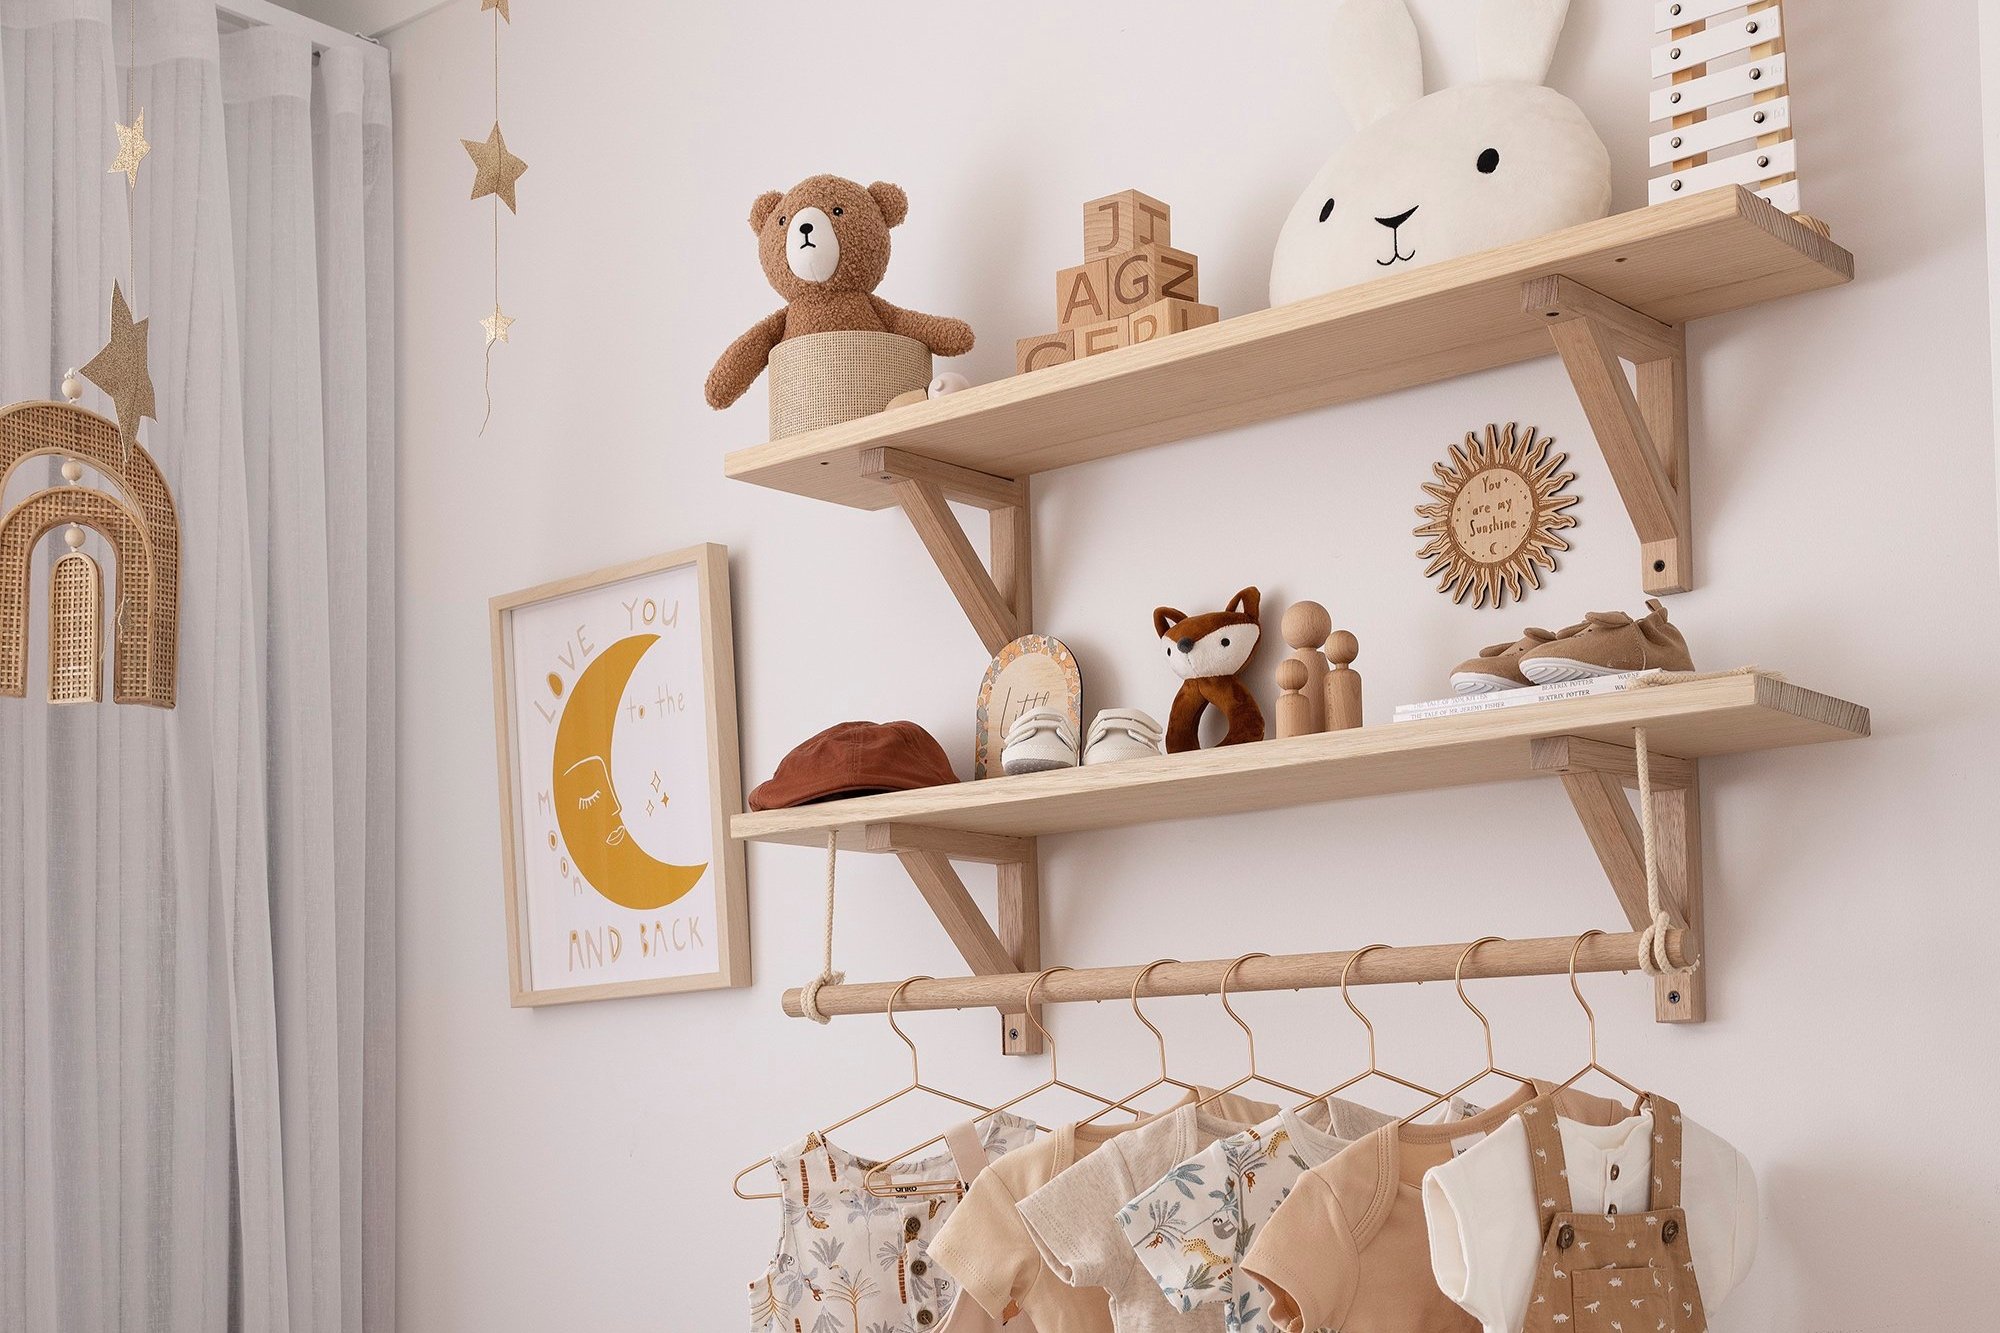
We recommend positioning the brackets at 60cm apart, which is approximately 15cm from each end of the shelf to the top screw in the bracket.
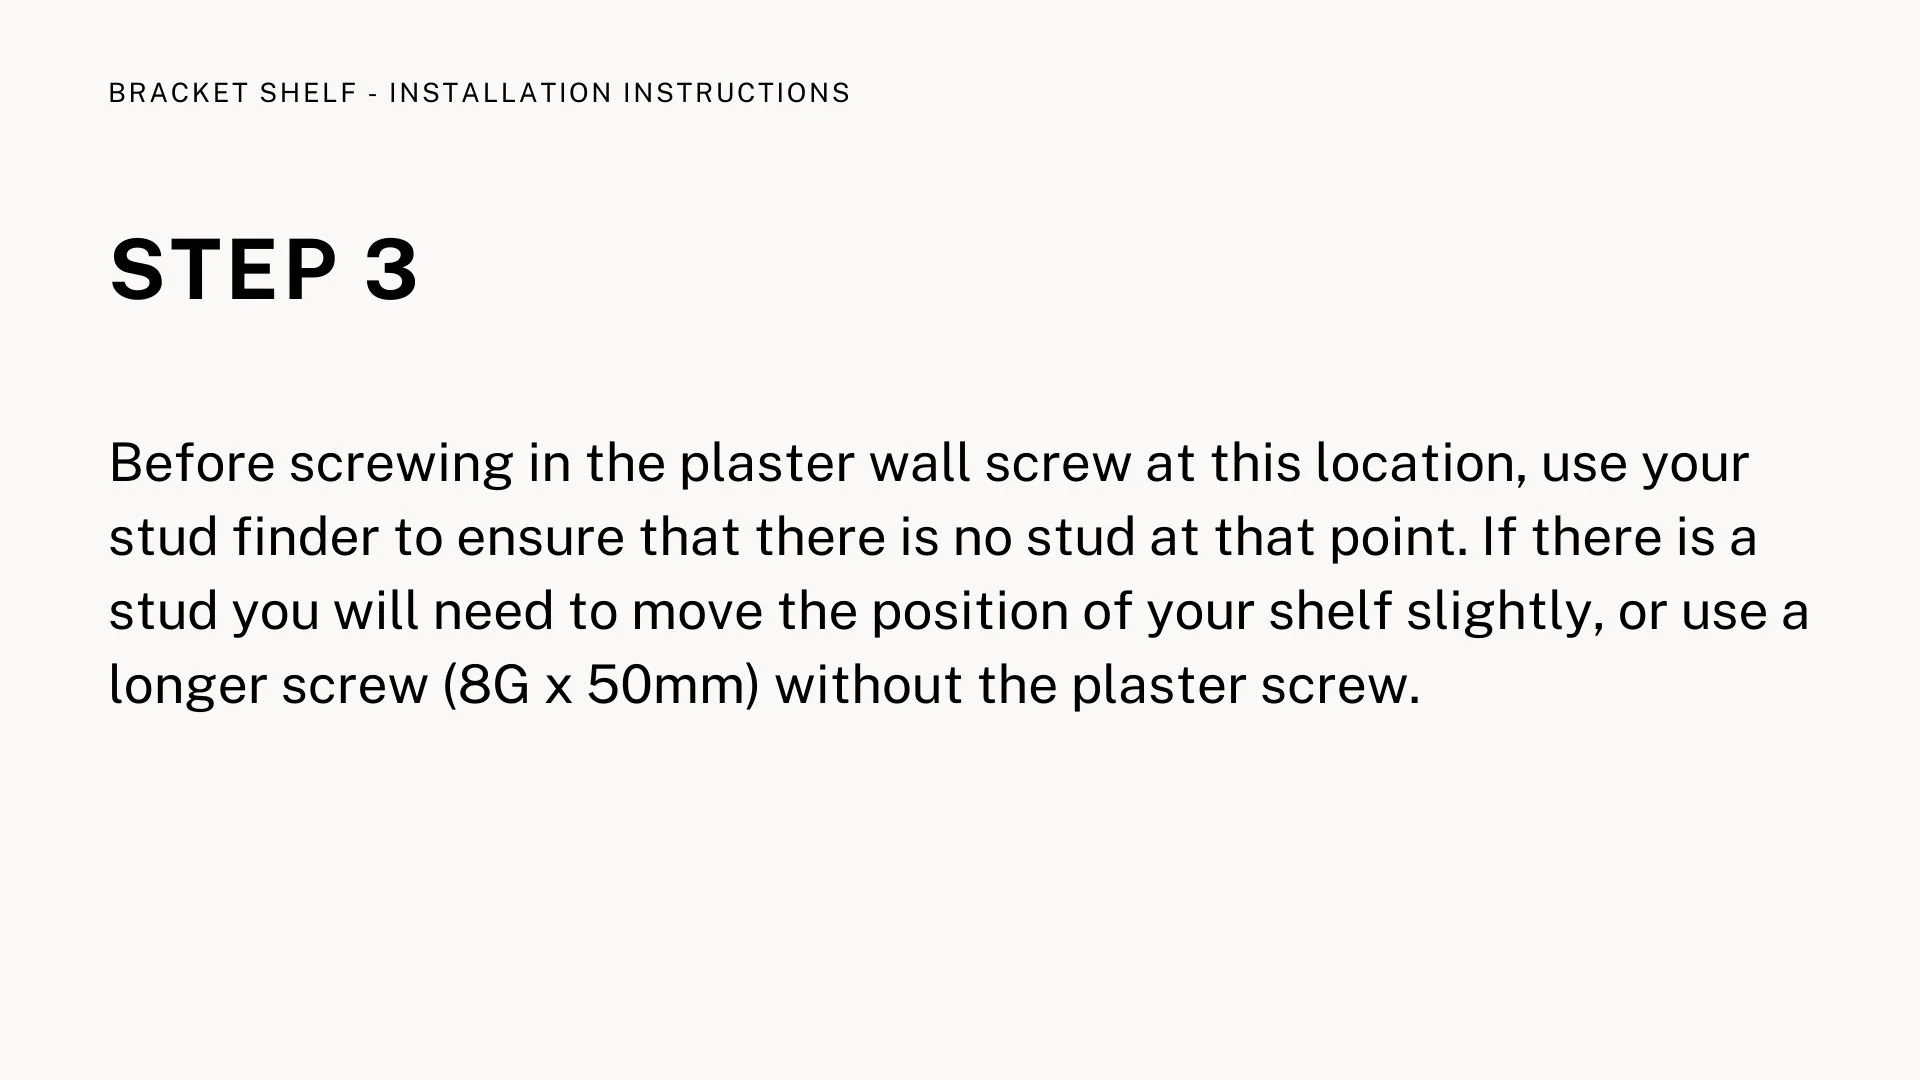
Now, when you have your shelf roughly against the wall, then you can use a grey lead pencil to mark on wall at the end of the shelf. Use your tape measure to measure 15cm towards the middle of the shelf from your pencil mark. This is where you will put your first Plaster Wall Screw (the white screws included with your Bracket Shelves). Remember that if there is a stud behind the wall in this location that you will have to make an adjustment or see notes below about mounting your shelf into the studs. Now it’s time to grab your screw driver, or a drill on a low speed setting and screw your in your Plaster Wall Screw. You did it! Well done.
Now you can get the first bracket, along with one of the long black screws and attach your bracket to the wall in the top hole. You can use a spirit level at this point to ensure that your bracket is straight up and down on the wall. Then take another screw and push it through the bottom hole of the bracket to make a mark on the gyrock so you know where the next Plaster Wall Screw needs to go. Then you can slightly undo the top screw one to two turns so you can twist your bracket on the wall and expose the mark you made on the plaster wall. The next Plaster Wall Screw can be screwed in as above now, followed by twisting the bracket back into position and screwing in the black screw. Don’t forget to re-tighten the top screw too. Bracket number one, tick!
For the second bracket we recommend a 60cm gap between the brackets. Although, you can use your discretion here and move the bracket distance to suit your aesthetic or practical needs. So go ahead and measure 60cm from the bracket and mark on the wall where the next bracket needs to go. You will also need to use a spirit level or a tape measure again at this point to make sure that the second bracket is level to the first bracket…nobody wants a lop-sided shelf!
Before you screw in the next Plaster Wall Screw do another check with your stud finder to ensure that you are not going to hit something and then follow the previous instructions for attaching the second bracket. Hooray, that’s two brackets done and now the shelf to mount!
Place your shelf ontop of your brackets and use your tape measure to make sure that it is centred on the brackets. This is where you will need an electric drill with a 3mm drill bit, so go ahead and get that ready. Now you need to hold the shelf on the bracket firmly, a second set of hands may come in handy here, and drill a pilot hole up through the holes that connect the bracket and the shelf. Make sure you don’t go through the top of the shelf here…so just a little hole! Then find the smaller black screws we include to secure the bracket and shelf together. Done!
Now there are only a couple of additional steps, if you purchased more than one shelf you may need to repeat the above steps, and if you purchased the hanging rod, keep on reading!
First you need to tie a simple knot at the end of each piece of cord and thread through the holes from the top of the shelf down on either side of the shelf. If this is a little tricky you can try taping the end of the cord to make poking through the holes a much more pleasant process!
The final step is to tie the rod on using a suitable knot at either end at your desired height. We recommend using a clove hitch knot as it is secure and pretty at the same time. But if you don’t have an inner boy scout knot tying ability, then don’t stress, any knot will do!
Well done, you did it. Now you can style your shelves to your hearts content and enjoy!
* If you wanted to secure your brackets into a stud in the wall, you will need to purchase some longer screws from your local hardware store that are 8G x 50mm and skip the step for the Plaster Wall Screw.